We are thrilled to announce that our intraoral scanner has undergone a comprehensive upgrade! This update brings several groundbreaking improvements that will significantly enhance your user experience. Here are the main highlights of this update:
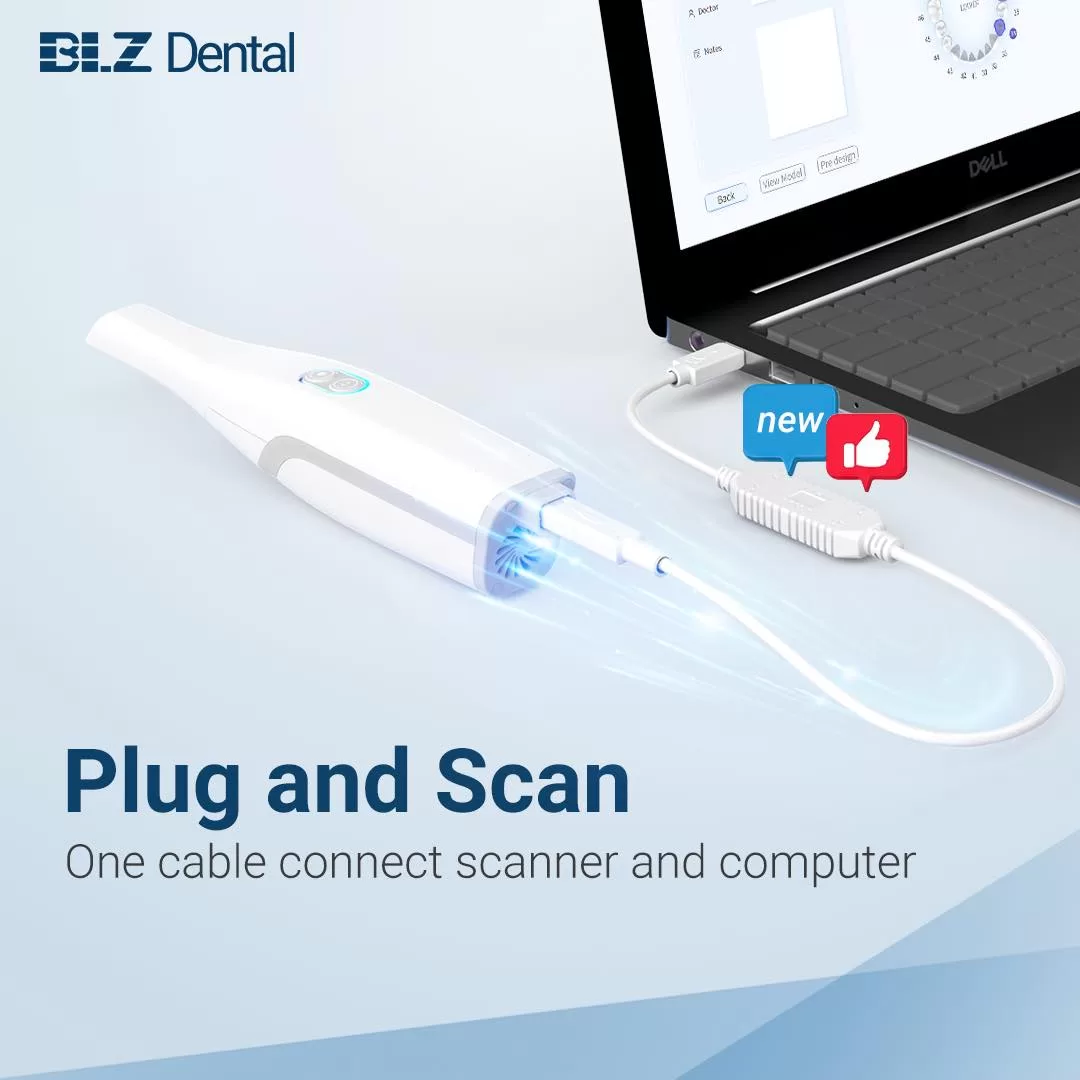
1. Major Breakthrough: Connection Optimization
The most notable feature of this version update is the optimization of our connection method. Now, the machine can be directly connected to the computer with just one cable, simplifying the operation process and improving work efficiency.
To ensure correct connection, you can identify the cable by the printed patterns: plug the computer icon into the computer and the scanner icon into the scanner.
Scanning is now effortless with just one cable!
2. Performance Enhancements
AI Model Upgrade:
Our second-generation model is more intelligent, reducing noise and soft tissue interference in posterior tooth implants. It more accurately identifies and processes various scan data, enhancing the precision and speed of scanning.

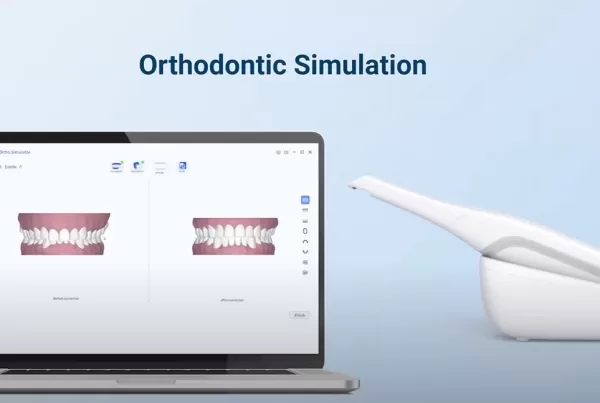
Rendering Model Upgrade:
The new rendering model offers faster image processing with more realistic colors for soft tissues and a more natural tooth gloss. Whether for real-time viewing or post-processing, you’ll see a clear improvement in image quality.

3. Important Feature Update:
Generate Support Rod for Printing

Lastly, we proudly introduce a highly practical new feature: the software can now directly generate print supports. This function will greatly save printing materials. Here are the steps to use this new feature:
- After the model scan is completed, click to enter the “Pre-Design” interface.
2. In the Pre-Design interface, perform shell extraction and bottom sealing, then proceed to the next step.
3. Select “Frame” and then choose “Support Rod”.


4. According to the prompt, in the upper left corner, left-click on the model to add a support rod at any position.
5. Long press the left mouse button on the white circle to drag the support rod in any direction.
6. Right-click to delete the support rod. You can also add multiple support rods.


We believe that these upgrades will bring you a brand-new user experience and help you better handle various challenges in your daily work. If you have any questions or feedback, please feel free to contact us. Thank you for your continued support and trust!